T-posts can be used to fence your property, keeping livestock or pets safe. Over the years, they have come across as a cost-effective and reliable solution for fencing. Unlike the past, do not assume you will have a hard time finding t-posts. They are readily available in most of the home supply and ranch stores. You can also buy them online by heading to our website’s ‘store’ page. Once you place the order, EZ Hinge will dispatch the product at the earliest.
It is commonly assumed that installing a T-post fence requires some serious expertise. Well, it can’t get any further from reality. You can easily install a T-post fence by sticking to the following measures:
- Select The Right T-Posts
First and foremost, you need to opt for the right T-posts. Since there are various types of T-posts available in the market, you might find it difficult to pick the most appropriate T-posts for your fence. You need to consider the size of your enclosure, type of fence being installed, spacing between posts, and expected animal pressure to choose the right T-posts.
Typically, T-posts are made from high-quality steel which is resistant to formidable pressure. Regular T-posts can be used for most applications and weigh approximately 1.25 pounds per foot. On the other hand, heavy-duty T-posts are heavier and therefore ideal to be used in high-pressure fencing. They weigh approximately 1.33 pounds per foot. At EZ Hinge, all T-posts are galvanized to ensure long-term durability. Our T-posts will withstand the regular wear and tear for several years. No wonder why our customers have left many positive reviews after using our top-notch T-posts.
- Map Out A Comprehensive Fence Plan
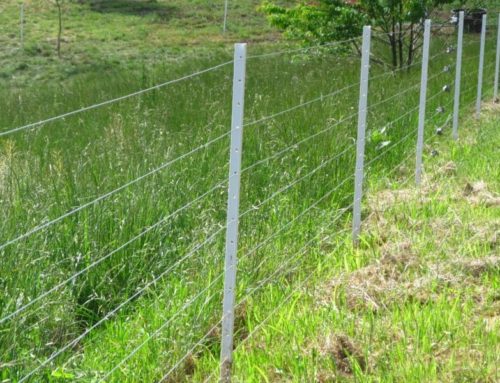
To get the best results, mark corners and use twine or string to create a straight line from corner to corner. This will help you keep your fence straight and save you a lot on cross-checking. Also, make sure there is no undergrowth or debris that could cause any undue interference with the wire fence.
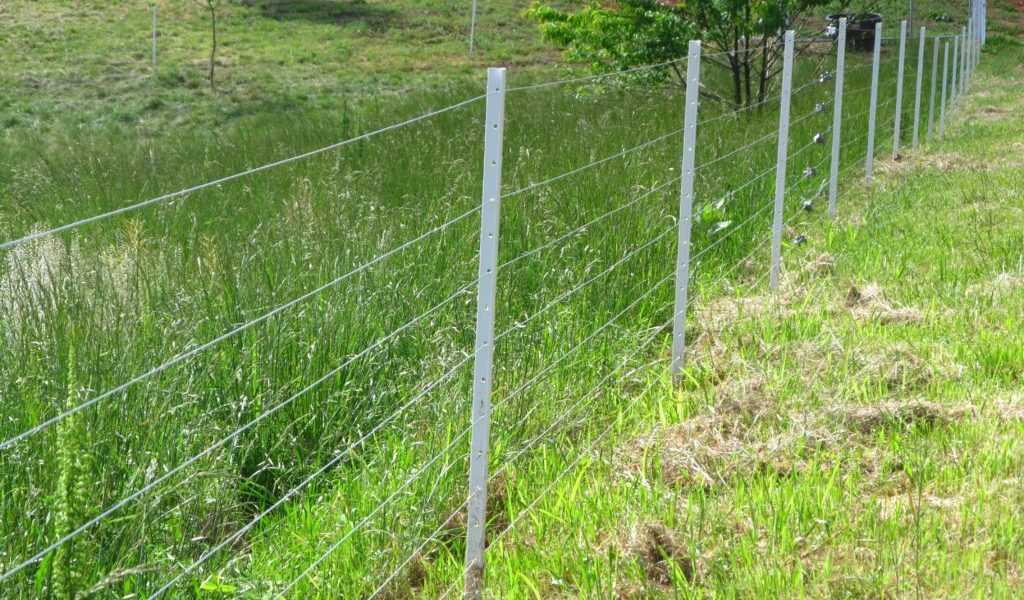
- Strategically Position The T-Posts
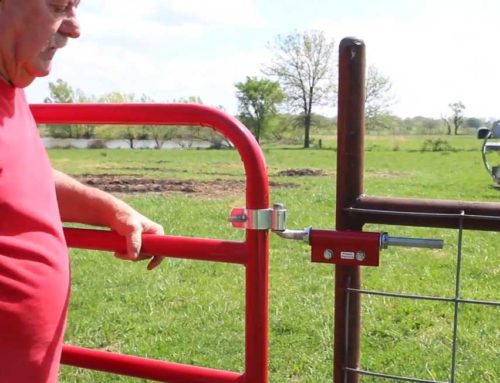
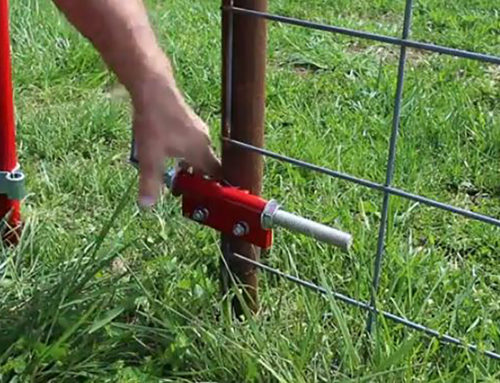
Place each T-post perpendicularly to the fence line with the anchor plate at its bottom. The direction that the T-posts face will depend on whether you want livestock to stay inside or predators to avoid them. For example, if animals are putting more pressure on the fence’s inside, you are better off setting the t-posts facing inward. If animals are putting more pressure against the fence’s outside, move the studs to the right.
- Place The T-Posts Into The Ground
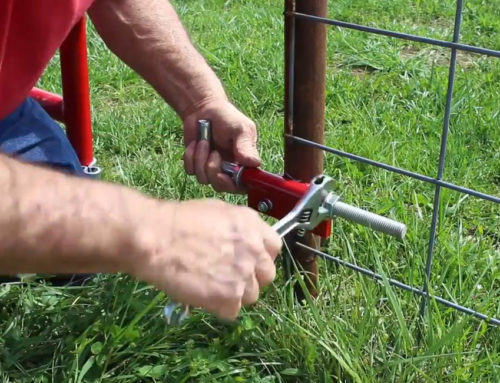
Keep animals from digging out the posts by driving them into the ground deep enough to completely submerge the anchor. A post driver, a pipe that is weighted and slides over the top of T-posts, works well to get this job done. However, a regular or sledgehammer can be used in an emergency as well. Move along the fence line as the installation progresses to ensure that the anchors are in a straight path.
As a rule of thumb, T-posts should not be more than 12ft apart. The posts will be less capable of supporting the weight of the wire if they are placed farther apart.
- Install The Wire
You can wrap the wire around the corner posts and safeguard it with wire staples. To secure the loop, leave a tail of roughly 18 inches. Use pliers to form the loop and twist the end around itself. If the wire has to be re-stretched, the loop can be left hanging.
Next up, attach a wire grip to the end of the wire by rolling it up and wrapping it around the corner post. The come-along can be used to stretch the wire between the corner posts. To form a loop, again cut the wire to leave a tail of 18 inches. Continue this process for each strand until you have run all five.