
Farm Gate Sagging After Rain? A Practical Fence-Opening Repair Checklist
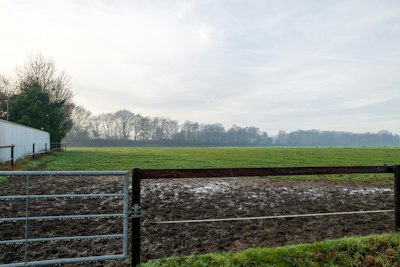
A farm gate can swing smoothly in summer and become difficult to close after a wet fall or a freeze-thaw cycle. Before replacing hardware, inspect the gate opening as a complete system: posts, soil, hinges, latch, and the ground beneath the swing.
1. Start with the gate opening
Close the gate without forcing it. Look for an uneven gap at the latch end, a bottom rail dragging, or a latch that no longer lines up. Mark where the gate rubs. Open it slowly and watch whether the problem changes through its travel. Keep livestock secured elsewhere while you work.
2. Check the hinge post for movement
A leaning or loose hinge post often causes what looks like a hinge problem. Sight along the post and check for movement at ground level. Look for soil erosion, water collecting around the base, rotted wood, damaged concrete, or loose braces. A gate is a lever: even a modest load can strain an inadequately braced post. Correct structural problems before adjusting the hinges. Posts that carry heavy gates may require rebuilding or professional assessment.
3. Inspect hinges and attachment points
With the gate safely supported, look for loose fasteners, worn pins, cracked welds, bent brackets, corrosion, and shifting clamps. Never put fingers in a pinch point or loosen a loaded hinge without supporting the gate first. Follow the hinge maker’s installation instructions and tightening specifications; do not guess torque values. For round-pipe gates, measure the actual outside diameter before ordering replacement hardware. EZ Hinge sizing refers to the maximum allowable outside diameter, not the pipe’s nominal trade size. See our round-pipe gate measuring guide and hinge installation checklist.
4. Test the latch and the clearance
Make sure the latch engages fully without lifting or slamming the gate. Check for worn catches, missing keepers, and interference from chain or wire. A latch that works only when the gate is forced can indicate post movement or sagging. Allow appropriate ground clearance for uneven terrain, snow, mud, and the gate’s full swing; the needed clearance depends on the site and livestock containment requirements.
5. Fix drainage and traffic damage
Repeated vehicle tires, livestock traffic, and runoff can make the gate opening muddy and unstable. Direct clean surface water away where practical, maintain drainage without sending sediment into waterways, and use suitable compacted aggregate or another locally appropriate surface in high-traffic areas. Avoid piling material against wooden posts, which can trap moisture. If drainage changes affect a ditch or stream, check local requirements.
6. Choose the repair in the right order
- Secure animals and support the gate.
- Repair unstable posts and bracing.
- Correct damaged hinges or attachment points.
- Rehang and align the gate according to the hardware instructions.
- Adjust the latch, then test the full swing repeatedly.
- Recheck after heavy rain or the next freeze-thaw period.
When replacement hardware makes sense
If the posts are sound but hinge parts are worn or unsuitable for the pipe dimensions, compare compatible replacement options. The EZ Hinge Farm Gate store lists gate hardware; verify your gate’s measurements, load, and installation requirements before purchasing. Hardware cannot compensate for an unstable support post.
Quick weekend gate-project checklist
Bring a tape measure, level, gloves, suitable hand tools, a safe gate support, and a notebook for measurements. Inspect each gate before winter weather makes access difficult. For a broader property walk-through, use our farm fence and gate inspection checklist.
Conditions vary by soil, frost depth, gate weight, animal species, and local climate. Use site-specific construction guidance for structural repairs and safe livestock containment.