
How to Measure Round-Pipe Farm Gates Before Choosing Replacement Hinges
Replacing a farm gate hinge starts with a tape measure, not a wrench. A hinge that is almost the right size can bind, slip, or prevent a gate from swinging freely. For round-pipe gates, the most useful starting measurement is the outside diameter (OD) of the pipe where the hinge attaches.
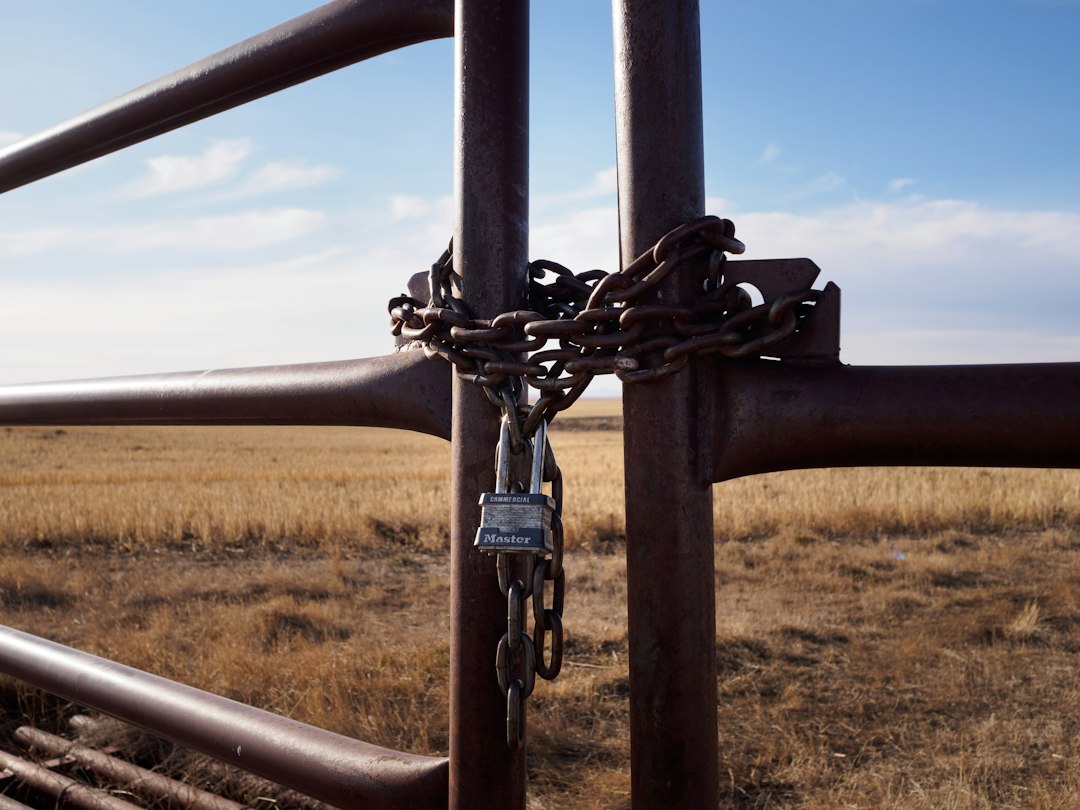
1. Measure the pipe’s outside diameter
Measure straight across the outside of the round tube, passing through its center. Do not measure the open inside of the pipe. A caliper is helpful, but a tape measure can work if you carefully locate the widest point. If you can only measure circumference, divide that measurement by approximately 3.1416 to estimate OD. For example, a circumference of 9.42 inches corresponds to roughly a 3-inch outside diameter.
Take readings at the actual hinge-mounting locations. Paint buildup, dents, weld seams, and out-of-round tubing can affect fit. Never assume that a gate described as “3-inch pipe” has a 3-inch OD: nominal pipe names and actual dimensions are not always the same.
2. Check both hinge positions
Measure the upper and lower mounting areas separately. Look for bent tubing, previous repairs, weld beads, or collars that could prevent a clamp from seating evenly. Note whether the gate is level, how much clearance remains at the ground, and whether the latch end has dropped. A replacement hinge cannot correct a severely leaning post or a twisted gate frame on its own.
3. Record the gate and post details
- Gate width and approximate weight: a long, heavy gate puts more leverage on its hinge and support post.
- Mounting surface: identify whether the gate uses round tubing and whether the support post is round, square, wood, or another material.
- Existing hardware: photograph the hinge, fasteners, pin orientation, and any spacers before removal.
- Clearance and swing: check where the gate must open, how far it swings, and whether the latch will align afterward.
4. Match the hinge to its published fit limits
Compare your measurements with the manufacturer’s stated compatibility and installation instructions. For EZ Hinge products, a listed OD size is the maximum allowable outside diameter, not a reason to assume every smaller pipe will fit. Confirm the individual product’s fit and hardware requirements before ordering. See the EZ Hinge Farm Gate store for current options and product details.
Do not substitute a larger clamp, omit fasteners, or modify load-bearing hardware just to force a fit. If gate weight, post strength, or hinge capacity is uncertain, ask a qualified installer or the manufacturer before proceeding.
5. Prepare for a safer replacement
Support the gate securely before loosening any hinge hardware. A swinging or falling gate can cause serious injury. Keep children and animals clear of the work area, use suitable lifting help or equipment for heavy gates, and follow the manufacturer’s tightening instructions. After installation, test the gate slowly through its full travel, check for binding and latch alignment, and recheck fasteners as instructed.
Quick measurement checklist
- Outside diameter at upper hinge: ______ inches
- Outside diameter at lower hinge: ______ inches
- Gate width: ______ feet
- Gate post material and size: ______
- Photos of current hinges and latch: taken / not taken
- Gate clearance and swing direction: ______
For additional help with sagging, binding, and latch alignment, read our farm gate hinge installation checklist. If you are also rebuilding the fence opening, see how to plan strong fence corners and gate posts.
General guidance only: gate designs, hinge ratings, soil conditions, and livestock pressures vary. Follow the specific hardware manufacturer’s instructions and applicable local requirements.