
Winter Crop Planning for Small Farms: Soil Tests, Field Maps and Spring Planting
Late fall is a useful time to plan next season’s crops on a small farm—even if the fields are too wet or cold to work. A simple field-by-field plan can prevent rushed fertilizer purchases, unnecessary tillage, and planting crops where drainage or soil conditions are poor.
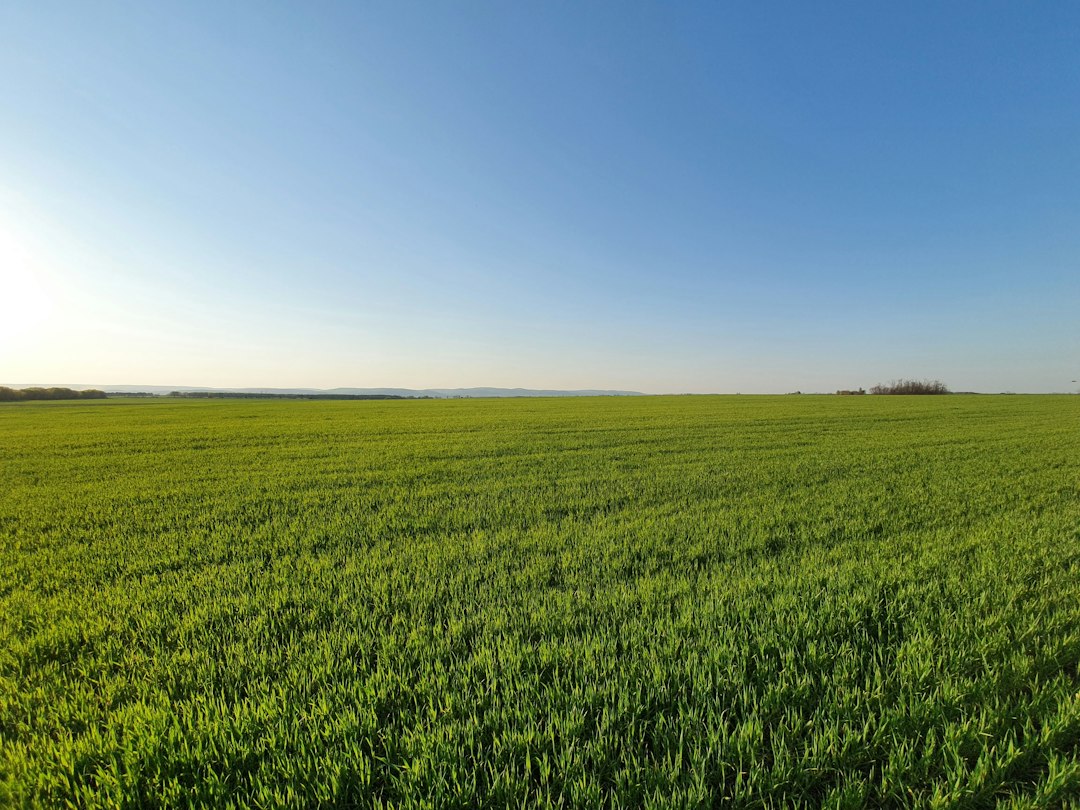
1. Map each growing area before buying seed
Sketch the fields, garden plots, and forage areas you intend to use. Record approximate acreage, slope, shaded spots, access for equipment, and places where water stands after heavy rain. Note what grew in each area this year, including weeds and any disease problems. Even a notebook map is enough to start.
2. Take a representative soil sample
Contact your local Cooperative Extension office or soil-testing laboratory for current sampling instructions, fees, and the appropriate test for your crop. Collect multiple small cores from a reasonably uniform management area and mix them as instructed by the lab. Sample problem areas separately; do not mix a wet low spot with a well-drained hilltop. Avoid sampling immediately after fertilizer or lime application, and follow the lab’s specified sampling depth. If soil is frozen or saturated, wait for workable conditions.
Request recommendations for the actual crops you plan to grow. A soil test can guide lime and nutrient decisions; it does not diagnose every drainage, compaction, or plant-disease problem.
3. Choose crops that match the site and season
Consider sunlight, soil drainage, irrigation capacity, growing-season length, equipment, and the market or household use for each crop. Cool-season crops and warm-season crops have different planting windows. Use your state’s Extension planting guidance and local average frost dates rather than assuming one national calendar fits every farm.
For forage or livestock feed, check whether the proposed species is suitable for your animals and region. Some stressed or frost-affected forages can create livestock hazards; consult Extension or a veterinarian before grazing unfamiliar or damaged stands.
4. Plan rotation and protect soil
Where space allows, avoid repeatedly planting closely related crops in the same location. Rotation can help manage some pests and diseases, although it does not eliminate them. Keep crop residue or appropriate ground cover where practical to reduce erosion. If considering a cover crop, plan its spring termination before planting the next crop; timing depends on species, weather, equipment, and the following crop.
For a closer comparison of cereal options, see our guide to rye, oats, and winter wheat cover crops.
5. Make a realistic input and labor budget
- Seed: list varieties, quantities, germination information, and ordering deadlines.
- Soil amendments: budget only after reviewing lab recommendations and crop needs.
- Water: check available supply, hoses, irrigation lines, and drainage.
- Equipment: inspect tools and identify repairs before spring.
- Labor: estimate planting, weeding, irrigation, and harvest time; avoid planting more than you can manage.
6. Keep livestock and crop areas separated
Where animals share a small farm, plan secure gates and fencing around crop areas, compost, and feed storage. Inspect gate openings and latches before busy planting days. Our fence corner and gate-post planning guide explains what to check, and you can browse EZ Hinge farm gate hardware if a gate needs attention.
A simple winter crop-planning checklist
- Draw and label each field or growing bed.
- Record this year’s crop, weeds, drainage, and yield observations.
- Arrange soil tests when conditions allow.
- Choose crops and varieties suited to your region.
- Plan rotation, soil cover, irrigation, and livestock exclusion.
- Estimate seed, amendments, equipment, and labor costs.
- Write tentative planting dates and adjust them to spring weather.
Bottom line: The best spring planting plan starts with what your land can support, not just what looks appealing in a seed catalog. A little planning now can help a small farm use its soil, time, and money more effectively.