
Backyard Chicken Coop and Run Checklist for Small Hobby Farms
Keeping a few backyard chickens can be a rewarding small-acreage project, but a chicken coop alone is not enough. A practical setup also needs a secure outdoor run, a reliable gate, dry footing, and a routine for checking weak spots. Whether you are planning your first flock or improving an older enclosure, this checklist helps you focus on the details that matter.
1. Choose a dry, accessible location
Look for ground that drains well rather than a low spot where rainwater collects. Leave room to reach the coop with feed, bedding, a wheelbarrow, and cleaning tools. Provide shade and ventilation while protecting the birds from prevailing wind and driving rain. Local ordinances and setbacks may affect where a coop can be placed, so check those before building.
2. Plan the coop and run as separate spaces
The coop is the secure overnight shelter; the run is an outdoor area where birds can move about. Space needs depend on breed, flock size, climate, and how much time chickens spend outdoors. As a planning starting point, many backyard guides suggest roughly 3–4 square feet of indoor floor space per standard-size bird and 8–10 square feet of outdoor run per bird, but more space is preferable, particularly when birds are confined for long periods. Include accessible roosts, nest boxes, ventilation openings protected with hardware cloth, and a way to clean the interior without crawling inside.
3. Build the run for predators, not just containment
Chicken wire may help keep chickens in, but it is not dependable protection against determined predators. For vulnerable openings, consider securely fastened, appropriately sized welded hardware cloth. Reinforce corners and door frames, and close gaps around the roofline. Depending on local predators, an apron of wire extending outward at ground level or another well-designed digging barrier can discourage animals from burrowing under the fence. A covered run can reduce access by climbing or flying predators. No fence is completely predator-proof; inspect it often.
4. Pay attention to the gate and latch
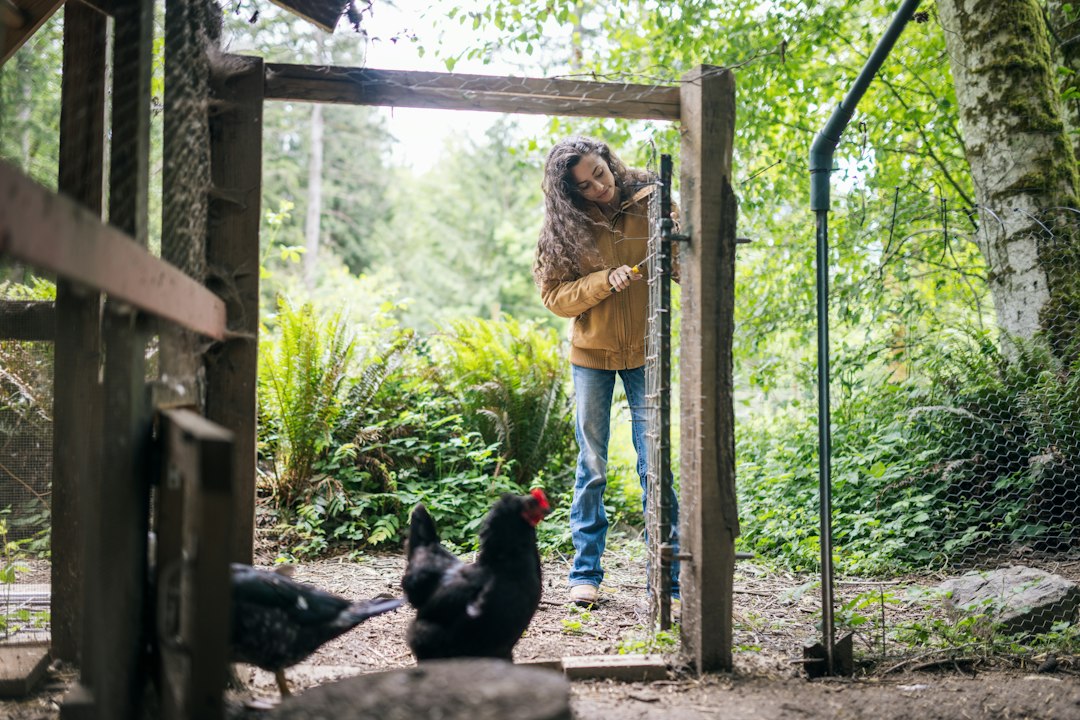
A run gate should swing freely without scraping the ground. Set sturdy posts, brace the frame as needed, and make sure the latch can be operated easily by people but not nudged open by animals. Check for gaps at the bottom and hinge side. Use a secure secondary latch where appropriate. For larger farm and pasture gates elsewhere on the property, our farm gate hinge installation checklist explains how to check alignment, post stability, and sagging. Gate hinges must be selected for the actual gate’s size, weight, post material, and mounting arrangement; do not assume hardware intended for a heavy pipe gate is suitable for a lightweight chicken-run door.
5. Manage water, mud, and bedding
Position drinkers so spills do not soak bedding. Keep drinking water clean and available, and prevent freezing during cold weather with equipment rated for the application. In muddy runs, improve drainage and use suitable, replaceable footing rather than allowing persistent standing water. Remove wet or heavily soiled bedding promptly; damp conditions encourage odor and can contribute to foot and respiratory problems.
6. Make daily checks quick and repeatable
- Morning: confirm birds are alert, water is available, feed is protected, and doors and latches operate properly.
- Evening: count the flock, secure the coop before dark, and check for holes or signs of digging.
- Weekly: inspect wire fasteners, hinges, gate alignment, roof edges, bedding, and signs of rodents.
- Seasonally: prepare for heat, freezing water, heavy rain, snow loads, and changing predator activity.
7. Start small and allow room to improve
It is usually easier to maintain a well-designed enclosure for a manageable flock than to correct an overcrowded one later. Sketch the coop, run, access gate, water location, and cleaning route before buying materials. Price the fencing, posts, fasteners, roofing, predator protection, and ongoing feed costs—not just the coop itself.
A practical first-week checklist
Before bringing chickens home, test every door and latch, check that the enclosure has no reachable sharp wire ends, verify ventilation without drafts at roost level, and make sure water and feed stations are easy to service. Keep a basic repair kit with compatible fasteners, spare latch hardware, and wire repair supplies.
If you are also maintaining pasture or driveway gates on your acreage, browse EZ Hinge Farm Gate hardware and review why quality gate hardware matters. For garden planning alongside your flock, see our fall vegetable garden cleanup guide.
Safety note: Predator pressure, local regulations, and animal-care recommendations vary. Consult local extension guidance and a poultry veterinarian for flock-specific concerns.