
Fall Pasture Fence Maintenance: A Practical Livestock Fencing Checklist
Late fall is a useful time to inspect pasture fences and livestock gates. Vegetation is often thinner, weak spots are easier to see, and repairs made now may prevent an escape or a difficult repair in freezing weather. This checklist is designed for small-acreage owners who want to work through their fencing one manageable section at a time.
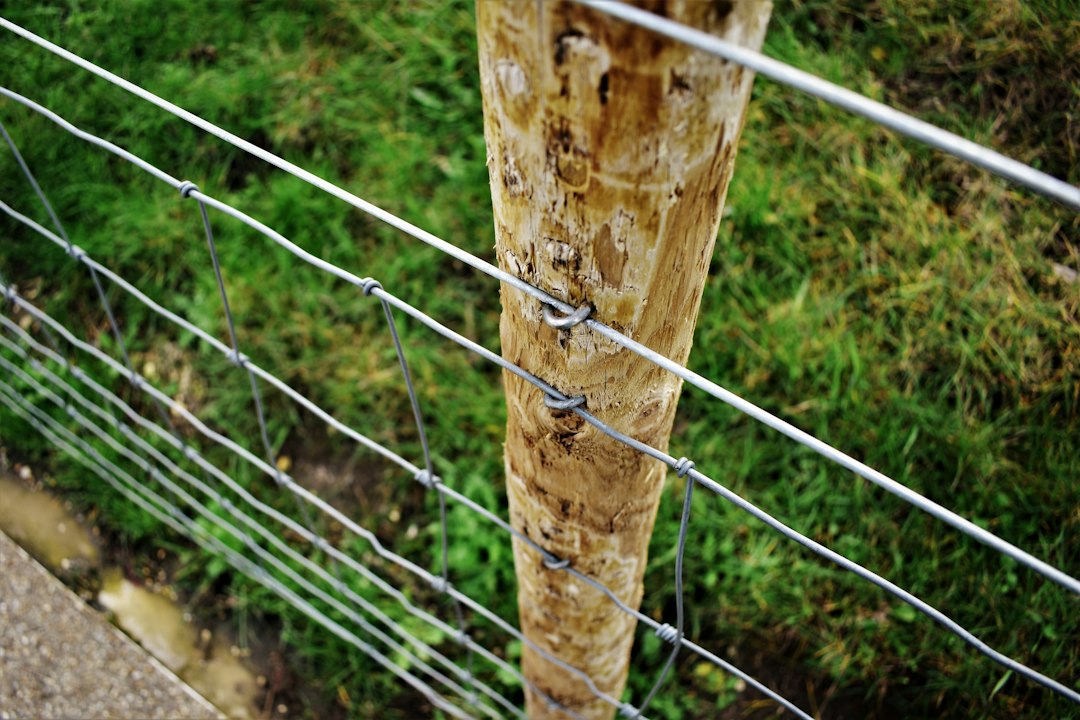
1. Walk the entire fence line before making repairs
Start with a slow inspection of the perimeter and any interior paddock divisions. Look from both sides where access is safe. Bring a notebook or phone to mark locations so you can gather materials before returning with tools.
- Leaning, rotted, cracked or heaved posts, especially at corners and gates
- Loose, broken, sagging or corroded wire; damaged mesh and missing staples
- Washouts, erosion, animal-dug gaps or fallen branches along the bottom
- Overgrown vegetation touching electric fence wires
- Sharp protruding wire ends or hardware that could injure animals
Prioritize any opening that could let livestock reach a road or another unsafe area. Move animals to a secure enclosure before working on a compromised section.
2. Check posts, braces and wire tension
A fence depends on sound end and corner assemblies. A wire that repeatedly goes slack may be a symptom of a shifting brace or post rather than a wire problem. Check posts for movement at ground level and inspect bracing connections. Replace structurally unsound components rather than trying to hide the problem by tightening the wire.
Use the tensioning method recommended for your fence material. Excessive tension can damage posts and fittings. Wear eye protection and gloves; stretched wire can recoil if a connection fails. For high-tensile or unfamiliar systems, follow manufacturer instructions or consult an experienced fence installer.
3. Inspect every pasture gate
Gates often see more wear than straight fence runs. Open and close each one fully. Watch for dragging, sagging, binding and a latch that no longer lines up. Check that the hinge-side post is stable and that all hinge fasteners and pins are secure.
- Verify that gates swing freely without striking the ground
- Inspect hinges for looseness, distortion, wear and corrosion
- Confirm latches close positively and cannot be easily pushed open by livestock
- Clear mud, rocks and debris from the gate’s swing path
- Check that the gate opening stays secure when the gate is closed
For a more detailed walkthrough, read our farm gate hinge installation checklist. If hardware needs replacing, you can also explore EZ Hinge farm gate hardware. Always match hardware to the gate, post and manufacturer specifications.
4. Give electric fencing a separate safety check
If you use electric fencing, inspect the energizer, connections, grounding system and vegetation along the line. Use an appropriate fence tester to identify low-voltage sections rather than touching a live wire. Shut off the energizer before repairing conductors or insulators, and follow the manufacturer’s instructions. Keep electric fence installations compliant with local requirements and away from unsafe contact points.
5. Protect high-traffic and wet areas
Gateways, water points and feeding areas can become muddy as rain and freezing conditions arrive. Standing water and repeated hoof traffic may loosen posts or create ruts under gates. Improve drainage where practical, move portable feeders when appropriate, and consider a properly designed stabilized surface in persistently muddy locations. Avoid grading or drainage changes that send runoff onto neighboring property or waterways.
6. Match the fence to the animals
Not every fence is suitable for every species. Cattle, horses, sheep, goats and poultry have different containment and injury risks. Check wire spacing, fence height, visibility and gate gaps against the livestock you actually keep. Barbed wire, for example, poses particular injury concerns for horses. If predators are an issue, inspect low openings and corners as well as the top of the fence.
7. Make a short repair plan
Divide your notes into urgent containment repairs, repairs to finish before severe weather, and improvements for spring. Keep spare compatible fasteners, insulators and basic tools organized, but do not postpone a critical repair because the full project cannot be completed today.
Quick fall pasture-fence checklist
- Walk perimeter and cross-fences
- Check corner braces and gate posts
- Repair broken or loose wire safely
- Test electric fence equipment where installed
- Open, close and latch every gate
- Look for erosion, washouts and muddy gateways
- Record materials needed for winter and spring repairs
Bottom line: A careful fence walk now can reveal small issues before they become livestock escapes or expensive repairs. Start with containment and safety, then work through the rest of your list as time and weather allow.